NOTE: This will be a series of posts about Swift. Some of the posts will be basic code lessons, some will be discussions about why Swift is awesome or different, and some posts will dive deeper into the code side of things. If you’d like to play along at home with us, go ahead and download the latest version of Apple’s Developer Tool, Xcode. It’s free on the Mac App Store here.
A year ago, Apple announced a new programming language, Swift, at their annual Worldwide Developers Conference (WWDC). It was a huge surprise for all of us as developers, and from what we’ve heard, it was such a secret project that it even surprised folks at Apple. Previously, Apple used the C based language Objective-C as the primary language for its platforms. Swift is a fresh language with a new syntax, or appearance, and some great new features that make writing code simpler and in some cases, more fun. It’s been a great year of learning as we embrace this new technology. We’ve even written a bit of Swift for some of our projects.
This year at WWDC Apple made it very clear to developers that Swift was the language they should use going forward. Supporting Objective-C is something we’ll have to do for now, but new code should ideally be written in Swift. I’m excited and nervous about this, because many of the little things I’ve learned about Objective-C while working with it are different or don’t exist with Swift. Apple also announced Swift 2, which hopefully will bring some regularity and stability to the update cycle for the language, as it’s been a rough first year with changes to the language requiring us to change our code to keep up to date. Swift is very exciting for us, and we’re looking forward to what’s coming in the second year of this language.
This wouldn’t be a good introduction unless we got to some code before the end of it. The tradition is to introduce a new language with a program that prints “Hello World” into whatever display might be standard for the platform, so we’ll try a variant on that. If you’ve got Xcode ready and open, go ahead and select File > New > Playground… and save the file wherever you’d like with whatever filename you might like and you’re ready to go. Now, in the playground, erase everything that’s in the file and type this:
println("Hello Swift")
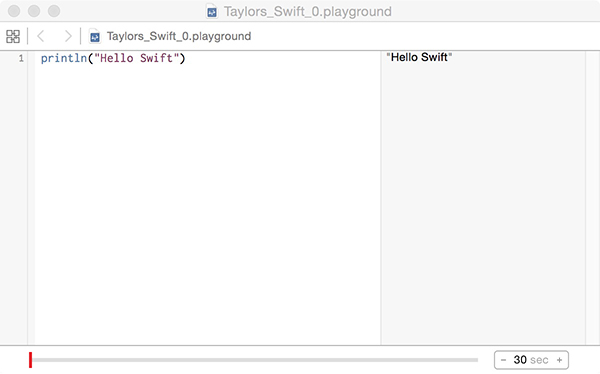
There. That’s all there is to it. You should see the text “Hello Swift” in the right sidebar of the playground screen. You’ve just written a Swift Program. The little bit of code that’s needed to write a program is part of what makes Swift so great. Simple or complicated, the code that you have to write is simpler and there’s less to write than Objective-C or many other languages. Let’s step through it part by part:
println = This tells the computer to print out a line (“print” + “ln” or line) of text or information
() = the container that will hold what println is supposed to print
“Hello Swift” = the text to print out
All together now:
println("Hello Swift")
You may have heard of variables in code. Variables can hold data for later use elsewhere in the code. Think of them as buckets of information that put things into and can easily get elsewhere in your code. Let’s add one now. Below the println line, add this:
var name = "Taylor"
There, now you’ve a “var”, or variable, and in that variable is the value “Taylor”. You can add that line as is, or replace my name with yours. Now that we’ve got that, add a new println line of code like this:
println("Hello " + name)
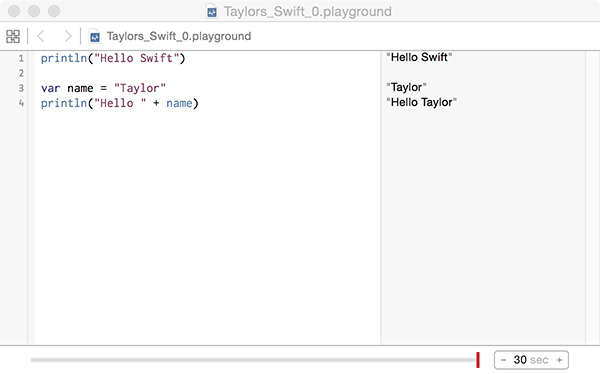
As before, this will print “Hello “, but then it prints out the value in the “name” variable.
Congratulations! You’ve taken your first steps into Swift. It’s about as simple as it can get, but it’s a step. Keep an eye out for the next post in this series as we continue our exploration into Swift. I’m hoping to make it fun and engaging, so if there’s something you’d like to know about Swift, let me know! I’m still learning a lot about the language myself, so this will be an adventure for all of us.
Extra Challenges
- Experiment with different values in the variable, and see what happens when you change it. Make sure to put the name in double quotes to get it to print properly.
- Make a new variable if you’d like and get that to print out like the other lines.
- See if you can get two variables to print out in a single line.
- Play and have fun! It’s what the playgrounds are for.